How to take Meesho-ready product photos with only a phone
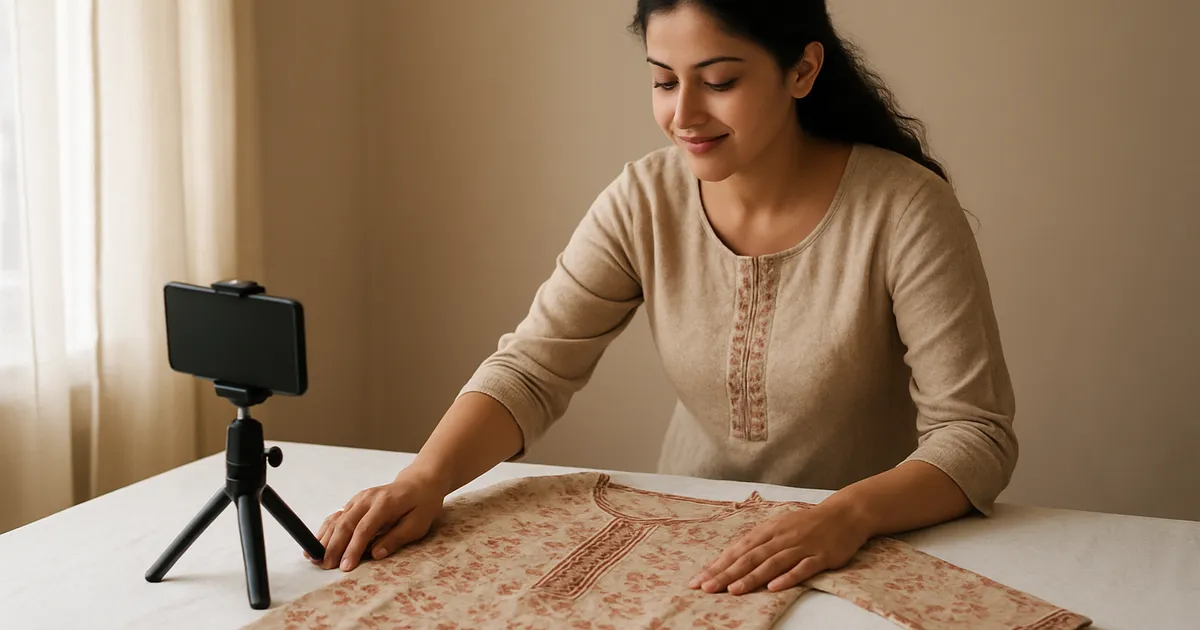
Illustration generated with AI
You do not need a studio or a new camera to get product photos that pass the checks. You need steady hands, good window light and a plain background. This post lays out a setup you can build at home today.

What do you need?
- A phone with a decent camera. Wipe the lens first, since a smudge is the cause of many soft photos.
- A window with indirect daylight, ideally on one side of your shooting spot.
- A plain background: a white or light grey bedsheet, a chart paper roll or a large white sheet board.
- A table or a clean floor corner.
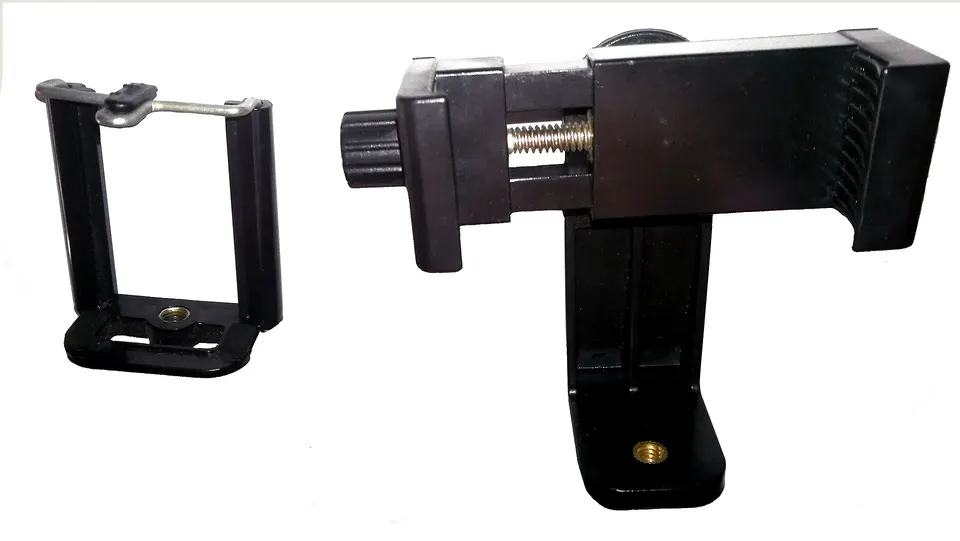
- A small tripod or a stack of books to hold the phone steady.
- A white card or thermocol sheet to bounce light onto the shadow side.
That list costs very little, and most of it you may already own.
How should you set up the light?
Place the table beside the window, not in front of it. Direct sun makes harsh shadows and hot spots, so choose a time when the sun is not shining straight in, or hang a thin white curtain over the window to soften it. Turn off the room lights. Mixed yellow bulb light and daylight give a colour cast that makes whites look dirty.
Put the white card on the side opposite the window. It reflects light into the shadows and gives you a softer, more even look.
How do you set up the background?
For clothing, hang the sheet on a wall or a stand and let it fall onto the table so there is no visible corner or line. The product should sit on a smooth background without wrinkles. Iron the sheet if needed. A wrinkle in the background looks like a flaw in the product.
For small items like jewellery or stickers, a white sheet board on the table is enough.
What is the shooting order?
Use the same order every time so your whole catalogue looks consistent.
- Front view, full product, centred, straight on.
- Back view.
- Close-up of the fabric, print or finish.
- A detail shot such as a neckline, button, stitching or clasp.
- Size reference, only if it helps, for example the item laid flat with a ruler or tape next to it.
- Model or worn shot, if you have a model. Use consistent light.
Take every shot a few times. Pick the sharpest one.
What phone settings help?
Keep the phone in portrait or square mode, with grid lines on so you can keep things straight. Tap on the product to set focus and exposure. Do not use digital zoom, since it lowers quality. Instead, move the phone closer or crop later. Turn off beauty filters and any scene enhancement that boosts colours. Avoid flash.
If your camera has a high-resolution mode, use it, and keep the original files. Send them to your computer without compression. WhatsApp reduces quality, so use a cable, cloud storage or a tool like DropCode to move them.
A worked example: a folded kurti to a usable image
Lay the kurti flat on the sheet, smooth it with your hand and straighten the sleeves. Put the phone on the tripod above it, as parallel to the table as you can, so that the garment does not look stretched or tilted. Take the photo. Check the edges for stray objects. The result should show the whole kurti filling most of the frame.
Then crop to a square, fix any slight tilt and bring the exposure up a little if it looks dim. Compare the colour on your phone with the real fabric. If they differ, adjust until they match, since an accurate colour matters more than a pretty one.
How do you turn one photo into a full set?
Once you have a clean source photo, the cropping and variants are repetitive work. The Meesho Image Creator takes one photo, or a few angles, and produces six primary crops plus more than forty secondary variants, with size charts and badges. Your photos are processed in your browser and are not uploaded to us. You still decide what to use, and you check each image against Meesho's current rules.
Which mistakes ruin phone photos?
Shooting in a dim room. It brings grain and colour errors.
Holding the phone by hand. Shake produces soft images.
Cluttered corners. A switchboard, a bucket or a shoe in the frame is distracting.
Different light in each shot. The set looks like a mix of products.
Heavy editing. Strong filters change colour and produce returns.
How do you stay consistent across many products?
Consistency is what makes a shop look professional. Mark the spot where the table stands with tape, so the light is always the same. Mark where the phone or tripod goes. Use the same sheet, the same time of day and the same distance. Keep a small card with your shooting order and your phone settings. When you shoot a new product, you do not decide anything again: you follow the card. After a few weeks your catalogue will look like it came from one studio, even though it came from one corner of a room. If the light changes through the day, shoot all products within the same window of time.
What to do next
Set up your window corner this week and shoot three products using the same order. Compare the results with your older photos on a phone screen. Keep the setup in place so it takes ten minutes, not an hour, each time.
FAQs
Do I need a white background? A plain, uncluttered background is the safe choice. Check the guidelines for your category for anything more specific.
Can I use the same photo for several colours? No, each colour needs its own photo so that the buyer sees what they will get.
How many photos should a listing have? Several, covering front, back, a close-up, a detail and a size chart. Quality beats count, though, so do not pad with poor shots.
Image credits: Illustration generated with AI for Infigrow AI, Photo: Still life with strawberries in a crystal bowl by W.carter (CC BY-SA 4.0), via Wikimedia Commons, Photo: Smartphone tripod braces by Draco flavus (CC BY-SA 3.0), via Wikimedia Commons