Background removal, cropping and variants: a simple photo workflow for sellers

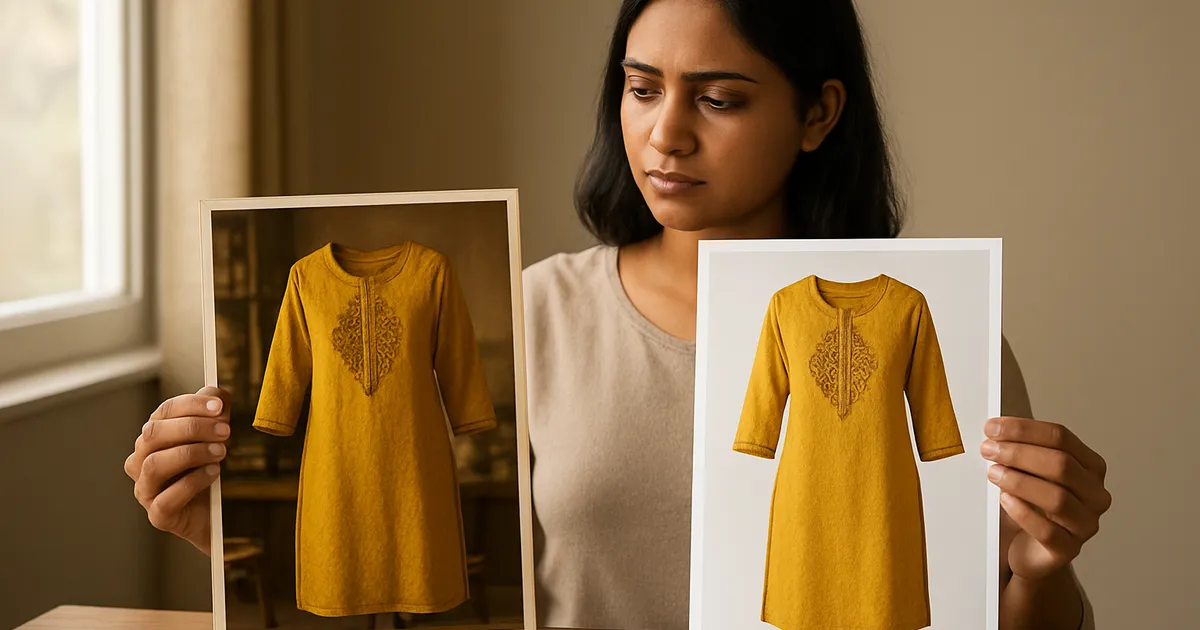
Illustration generated with AI
Editing photos feels slow because each product gets handled differently. You crop one first, remove a background from another, then realise the first needs a new crop. The cure is a workflow: the same steps in the same order, applied to a batch.
Why does order matter?
Some steps undo others. If you adjust brightness and then remove the background, the cut-out edge can show a halo. If you resize before cropping, you lose pixels. A fixed order avoids rework.
Here is the order we recommend.
- Cull. Delete blurry and duplicate photos first. Never edit a bad photo.
- Straighten and crop. Fix the angle and frame the product.
- Remove or clean the background.
- Adjust light and colour. Light first, colour second, and only a little.
- Resize and export.
- Create variants such as secondary images and size charts.
- Name the files with the SKU, so nothing gets mixed up later.
Work on all products at step 1, then all at step 2, and so on. Batch work is faster because you stay in one mental mode.
How do you crop for a marketplace?
Most listing images do best when the product fills the frame, with a small margin around it. Square crops are common for a main image. Leave breathing room so that nothing is cut off at the edges. Keep the product centred. For tall items such as sarees and kurtis, a square crop may cut the hem or the neck, so fit the whole item inside the square instead of filling it, and accept some empty space.
When should you remove the background?
If you shot on a plain sheet in good light, you may not need to remove it at all. A light clean-up is enough. If the background is messy, or you want pure white, use background removal.
Check the result at 200 percent zoom. Typical problems:
- Rough or jagged edges around hair, lace and fringes.
- Missing parts, like a thin strap or a piece of jewellery.
- A grey halo of the old background around the product.
- Parts of the product that vanish because they were the same colour as the background.
If the edges look wrong, redo the cut or reshoot against a better contrast background. A cut-out that looks fake is worse than a plain photo.
A worked example: ten products, one afternoon
Say you photographed ten kurtis, three shots each, so 30 images.
- Cull: keep the best front, back and detail for each, maybe 25 images.
- Straighten and crop all 25 to the same square frame.
- Clean the backgrounds where needed, say 8 of them.
- Adjust brightness once for the batch, and then correct the few that are off.
- Export all at the same size and quality.
- Name them KUR-014-front, KUR-014-back and so on.
You finish with a folder where every file name tells you the product and the shot. When you upload, you do not hunt for files.
How do you create variants quickly?
Variants are the extra images: close-ups, size charts, feature callouts. They are tedious to make by hand because every product needs several. Templates help. Create the layout once and swap in each product photo.
The Meesho Image Creator automates a lot of this. You upload one photo or a few angles and it makes six primary crops and over forty secondary variants, including size charts and trust badges. It runs in your browser. We still suggest looking at every output before using it, because a template cannot know that a particular crop cuts off your sleeve.
What should you check before export?
- File names are clear and unique.
- The images are the right size and not over-compressed.
- No text or logo appears where Meesho does not allow it.
- The colours look right on your phone and on a laptop screen.
- The main image stands out as a small thumbnail.
Keep your original photos in a separate folder. You will need them if rules change and you must re-export.
What mistakes slow people down?
Editing every photo separately. Batch the same step across files.
Over-editing. Perfect skin tone on a mannequin is not the point. Accurate product colour is.
Mixing sizes. Different export sizes inside one listing look careless.
Losing the originals. Always keep an untouched copy.
Not naming files. You will upload the wrong photo to the wrong listing at least once.
How do you decide what is good enough?
Perfection is expensive, so set a standard before you start. A useful one: if a buyer cannot spot the flaw at normal viewing size on a phone, move on. Zoom in to check edges, but judge the final decision at the size people actually see. Spend your extra effort on the main image of your best-selling products, where a small improvement is seen by the most people. Secondary images can be simpler. Write your standard in one line, such as "straight, centred, clean edges, true colour", and use it for every batch so you stop re-deciding on each photo.
How do you share the workflow with a helper?
Write the seven steps on a single page with a small example for each, such as a before and after crop. Include your file naming rule and your export size. Let the helper do five products while you check each step, then correct the habits you see. Keep the page updated as you learn. A written workflow lets you hand over photo editing without losing quality, and it means the catalogue still looks consistent when someone else takes over part of the work.
What to do next
Take ten of your products and run the whole workflow once, timing each step. The step that took longest is the one to automate or batch. You will quickly see where your hours go.
FAQs
Do I need paid software? Not necessarily. Free editors and browser tools handle crops and basic adjustments. Pay only if a paid option removes a step you do again and again.
What is the best export format? JPEG at a high quality setting is the usual choice for photos. Check what the platform accepts.
How do I keep colours consistent across a batch? Shoot under the same light, fix the white balance on one image, and apply the same adjustment to the rest, then check outliers.
Image credits: Illustration generated with AI for Infigrow AI