How to price custom stickers and invitations so you actually make a profit
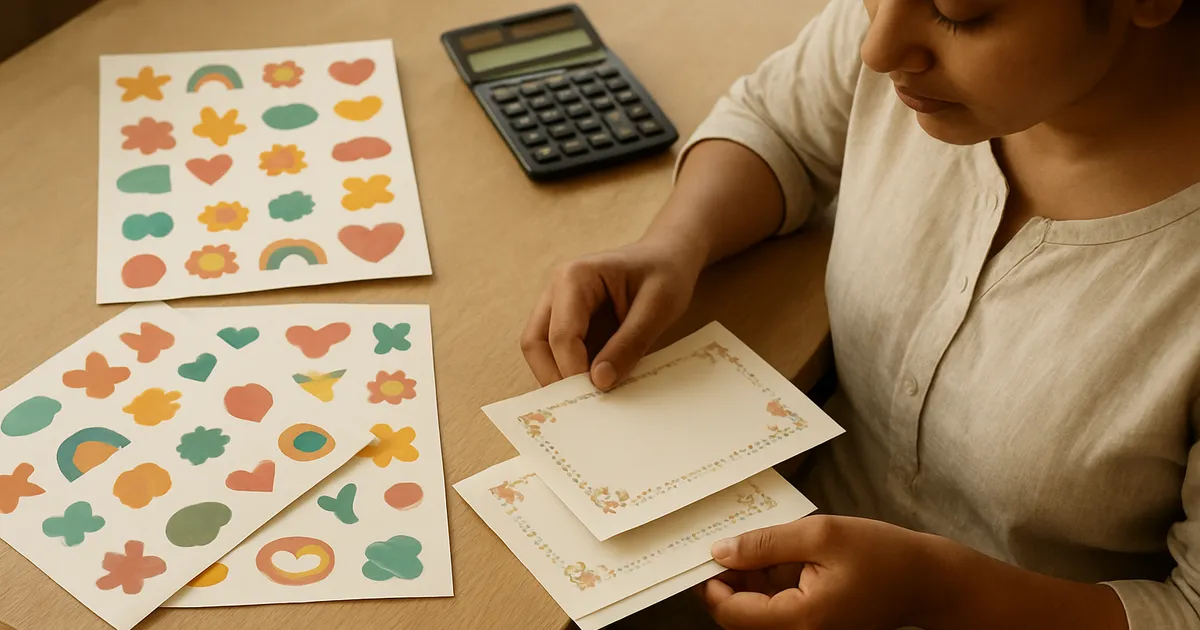
Illustration generated with AI
Many small print shops price by looking at a competitor, subtracting a little and hoping. Then a busy month passes, the shop is full of orders and the bank balance has not moved. The usual reason is that the price never covered the real cost.
What goes into the cost of one piece?
Think in layers, from the obvious to the easily forgotten.
Materials: paper or sticker sheet, ink or toner, lamination, foil, envelopes, boxes, ribbon. Count the cost per finished piece, not per pack.
Waste: misprints, trimming errors, test prints, damaged sheets. In every shop some material is lost. Estimate it from your own history instead of assuming zero.
Machine cost: wear, repairs, electricity and the cost of consumables that run down with use. A rough rate per hour or per sheet is fine.
Labour: your own time and any helper's. If you do not pay yourself, your price is a gift to the customer.
Overheads: rent, internet, software, packing material, and tools that you pay for every month. Divide a month's overhead by the number of orders to get an idea.
Delivery and payment charges: courier charges, packing, and any fees on payments.
A buffer for rework: some jobs need a second print or a free correction.
How do you work out the price of one sticker sheet?
Take a made-up example to show the method. Use your own figures.
| Item | Amount (example) |
|---|---|
| Sticker sheet | 8 |
| Ink and printing | 5 |
| Lamination | 3 |
| Cutting and finishing time | 4 |
| Packing | 2 |
| Waste allowance (10% of the above) | 2.2 |
| Total cost | 24.2 |
Then decide on your margin. A margin means the part of the price that stays with you after costs. If you want 30 percent of the price as margin, divide the cost by 0.70, not multiply by 1.30. So 24.2 divided by 0.70 is about 34.6, which you would round to 35.
The difference matters. Multiplying by 1.30 gives about 31.5, which is a margin of only around 23 percent of the price.
A worked example for invitations
Suppose a customer wants 200 cards. Add up:
- Card material for 200 plus a few spare.
- Printing, foil or embossing, per piece.
- Envelopes and inserts.
- Setup work: design, proofing, file preparation. This is often charged separately.
- Cutting, assembly and packing time.
- Delivery.
Divide the total by 200 to get a cost per card, and add your margin the same way. Setup costs do not shrink with quantity, so a small order has a higher cost per piece. That is why many shops use quantity tiers: a higher price per card for 50 and a lower price for 500.
How do quantity tiers work?
A fixed setup cost plus a variable cost per piece gives a natural curve. Example of the idea: setup 600, variable 25 per card.
- 50 cards: (600 + 50 x 25) / 50 = 37 per card.
- 200 cards: (600 + 200 x 25) / 200 = 28 per card.
- 500 cards: (600 + 500 x 25) / 500 = 26.2 per card.
These are made-up figures for illustration. Your own setup and variable costs will differ. The principle is real: do not offer the same per-piece price at every quantity.
What about competitors and market price?
Check them, but do not copy them. A lower price from someone else may come from lower quality, a bigger shop or a loss they are willing to take. Decide what you can offer: faster delivery, better proofing, nicer finish, a clean packing. Then price for the customers who value that. If the market price is below your cost, either cut cost, change the product or accept that this segment is not for you.
Which pricing mistakes keep shops poor?
Forgetting waste. Everything printed is not everything sold.
Not charging for design. Design time is real. Charge for it or include it in a higher price.
Free revisions without limits. Set a number of free changes, and charge after that.
Discounting under pressure. A discount on a price that has no margin is a loss. Offer something else instead, like free delivery over a certain quantity.
Pricing from memory. Prices drift as material costs change. Review your sheet every few months.
How do you keep a price list up to date?
Use a simple spreadsheet with a row for each product and columns for the cost parts. When the sticker sheet price goes up, change one cell and see the effect on every product. Check material rates when you reorder. If a rate has changed, update the sheet and your quotes. Keep dated copies so you can see how prices moved.
How do you present a quote?
A clear quote avoids arguments later. List what is included: quantity, paper or material, finish, number of design revisions, proofing, packing and delivery. Say what costs extra, such as rush work, additional changes or special packaging. State the validity of the quote, because material prices move. Give the delivery timeline from the date of final approval, not from the date of the first message. Confirm the advance payment needed to start. A simple written quote protects both sides, and customers tend to trust a shop that is clear about what is and is not included.
What to do next
Choose your best-selling item. Write down every cost layer above with real figures, find the true cost per piece and compare it with your price. If the margin is lower than you thought, adjust the price for new orders or reduce the waste. Do the same for the next item the following week.
FAQs
What margin should I aim for? It depends on your volume, your costs and your market. Choose a margin that covers your time and your growth, and check it against what your monthly numbers show.
Should I show customers a price breakdown? Usually not. Show clear packages and options instead. Be ready to explain what is included.
What if customers say another shop is cheaper? Ask what exactly the other quote includes. Compare paper, finish, proofing, delivery and revisions before you cut your price.
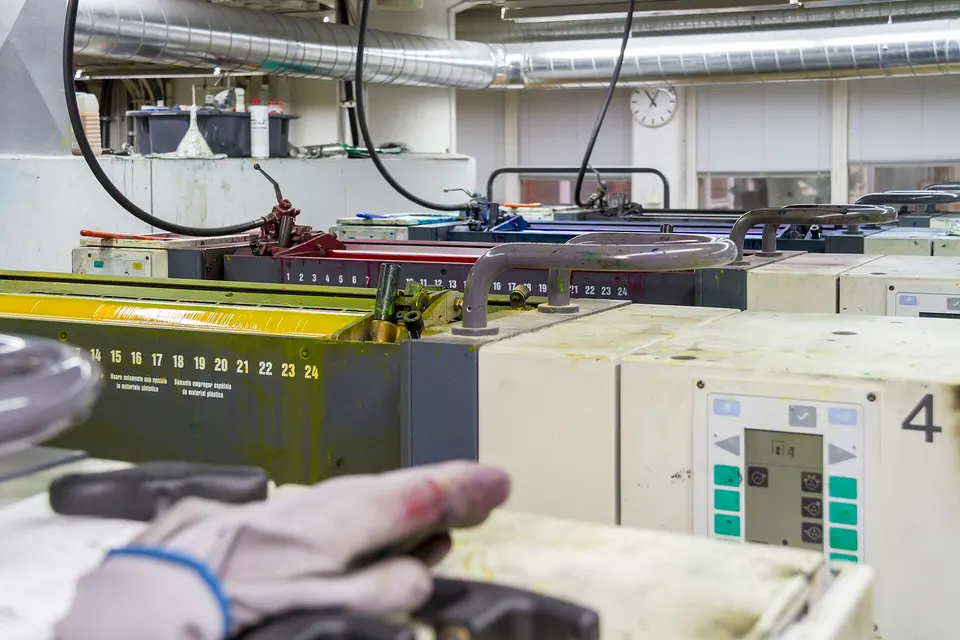
Image credits: Illustration generated with AI for Infigrow AI, Photo: Offset printing press 2 by Aatu Dorochenko (CC BY-SA 4.0), via Wikimedia Commons