Packing and courier tips for fragile printed items
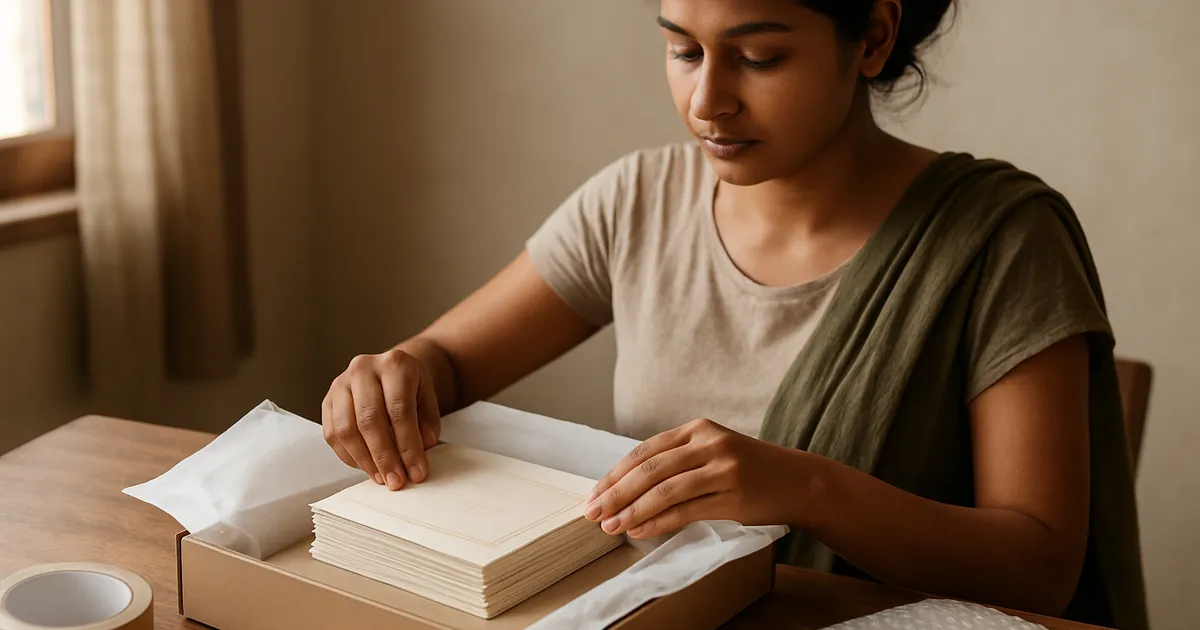
Illustration generated with AI
Printed items are not fragile like glass, but they are easy to ruin. A corner dented, a card bent, a foil scratched or a sticker sheet curled can make a perfect job look careless. Parcels get thrown, stacked and rained on. The aim is to pack for the worst handling, not the average.
What actually damages printed items?
- Bending: thin parcels flex when stacked or squeezed.
- Corner damage: dropped boxes hit on corners.
- Moisture: rain or damp air curls paper and ruins ink.
- Rubbing: loose items shift and scuff foil, lamination or spot UV.
- Crushing: heavy items placed on top.
Each has a simple prevention.
How do you pack flat items like cards and sticker sheets?
- Protect the surface. Slip each item in a clear sleeve or wrap it in tissue or butter paper, especially if it has foil or a glossy finish.
- Add a stiff backing. Put a piece of thick cardboard or a board on both sides so that the parcel cannot bend. Cut it slightly larger than the item.
- Seal against moisture. Place the bundle in a plastic bag and seal it before the outer pack.
- Use a sturdy outer pack. A rigid mailer, or a cardboard box in the right size. Avoid oversize boxes, as items slide around.
- Fill gaps. If space remains, fill it with crumpled paper or bubble wrap so nothing moves.
- Mark the parcel. A "do not bend" label helps a little and costs almost nothing, though you should not rely on it.
How do you pack rigid items like boxes and shagun envelopes?
Stiff items fail by crushing and corner damage. Put them in a box with at least a few centimetres of padding on each side. Shake the closed box gently. If you hear or feel movement, add filler. For sets of boxes, tape the stack together or place dividers between layers.
A worked example: an order of 100 invitation cards
Suppose a wedding order of 100 cards, foil on the front, with envelopes.
- Group the cards in bundles of 25. Put a sheet of tissue between the foil faces of neighbouring cards.
- Wrap each bundle in a sleeve or paper and secure it lightly.
- Place two or three bundles flat in a sturdy box with a cardboard sheet at the bottom and top.
- Pack the envelopes in a separate bag, so edges do not dig into the cards.
- Fill gaps. Close the box and test: press the sides and shake it.
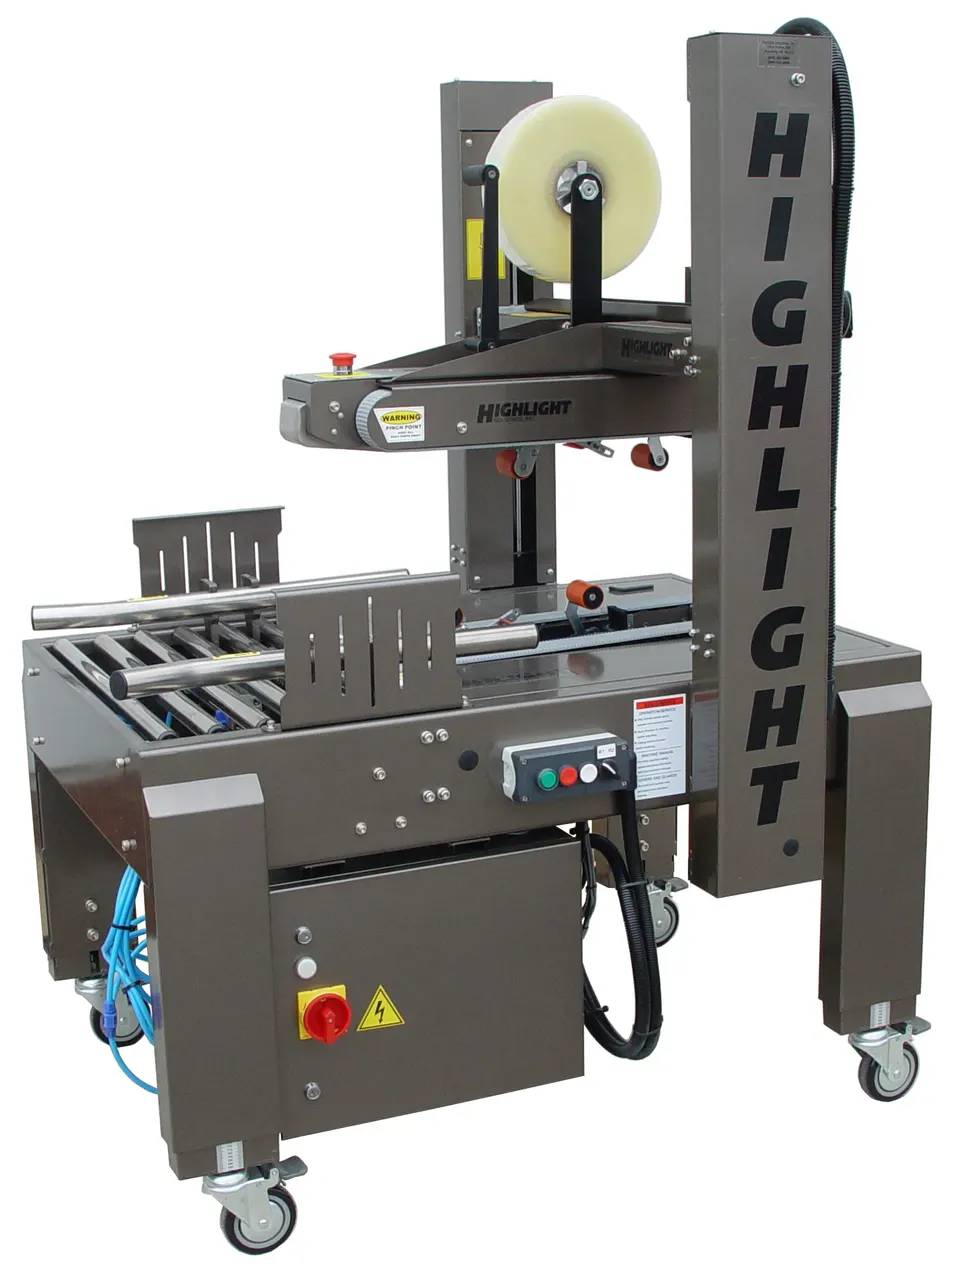
- Seal the box edges with strong tape. Add the label on a flat face, with a second label inside the box.
- Photograph the packed contents and the sealed parcel with the order number.
It takes a few more minutes than a quick wrap, and costs a small amount of material. A reprint of the whole order costs far more.
Which courier and service should you choose?
There is no single best option. Compare the couriers you can use on delivery quality, tracking, coverage of your customer's pincode, speed and cost. For high value or time-critical orders such as wedding stationery with a firm date, a more reliable service is worth the extra charge. Always give the customer a realistic delivery date, and add buffer days before the event.
What if a parcel arrives damaged?
- Ask the customer to photograph the outer parcel and the damage before opening further, if possible.
- Collect photos of the packing from your own record.
- Raise a claim with the courier within their time limit and follow their process.
- Reprint or replace quickly if the event date is close, and sort out the claim afterwards. Customer trust is worth more than the delay.
- Learn from it. Note what failed and adjust your packing.
Insurance on higher value parcels is worth considering. Check what is covered and what proof you need.
How do you keep packing costs sensible?
Buy materials in bulk, standardise a few box sizes and stick to them, and include the packing cost in your price. Our post on pricing stickers and invitations shows how to put packing into the cost of each piece.
What materials are worth stocking?
Keep a small, well-chosen stock rather than many things you rarely use. Useful items include clear sleeves in your common sizes, tissue or butter paper, stiff cardboard cut to size, a few standard box sizes, strong packing tape, plastic bags for moisture, bubble wrap for rigid items, and labels. Buy in quantity once you know your usual sizes. Store everything dry and flat. Cutting backing boards to size in advance for your most common order saves minutes on every parcel. Review your stock monthly, and note which items run out first so you can reorder before a busy season.
How do you reduce risk for big events?
For orders linked to a fixed date, add extra safety. Ship early, ideally a week or more before the event. Split a large order into two parcels sent separately, so that a single lost box does not mean a total loss. Keep a spare set of a few cards at your end for emergencies. Give the customer the tracking details as soon as they exist and check progress yourself each day. Telling the customer early when something is delayed gives them time to plan, and they will thank you for it later.
What to do next
Pack one real order with the steps above, then drop-test it yourself: lift the parcel to waist height and let it fall flat, then on a corner. Open it and see what moved. Adjust the filler and the backing until nothing shifts.
FAQs
Should I use bubble wrap on foil? Not directly, since it can press its pattern into soft surfaces. Wrap the item in paper first and then add bubble wrap around it.
Is a plastic bag enough against rain? It helps a lot, but seal it well and add an outer pack. Water finds gaps.
How much extra time should I allow for delivery? Add buffer days, particularly in wedding season and during festivals. A parcel reaching the customer a week before the event is much better than a day before.
Image credits: Illustration generated with AI for Infigrow AI, Photo: Box Sealing Tape Magnum 3500 by Imsquare22 at English Wikipedia (Public domain), via Wikimedia Commons